Braised Pork with Potatoes
Braised Pork Belly with Potatoes: A step-by-step recipe with pictures 13 steps in total). (Finished dish image included.)

Method
- 01
Step 1
Finished product image

- 02
Step 2
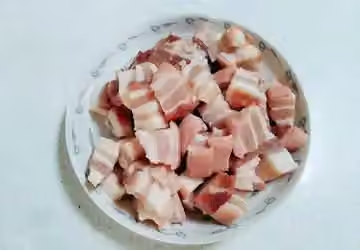
Wash the pork belly and cut it into appropriately sized pieces.
- 03
Step 3
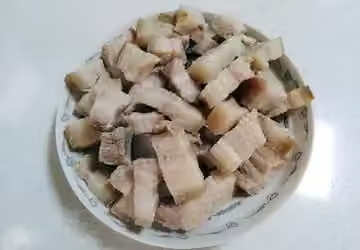
Put the pot in cold water, add cooking wine, bring to a boil, and skim off the foam.

- 04
Step 4
Remove and drain.
- 05
Step 5
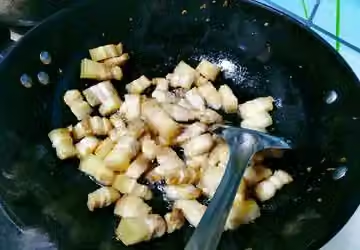
Heat a wok, add a little oil to coat the wok, then add the drained pork belly and stir-fry until the fat renders. This way, the meat won't be too greasy.
- 06
Step 6
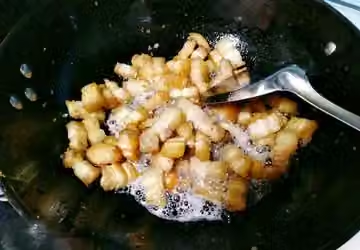
Remove the meat from the pan, leaving some oil. Add rock sugar and melt it over low heat. Be sure to use low heat!

- 07
Step 7
Stir-fry the pork belly until it is browned.
- 08
Step 8
Slice the ginger and place it at the bottom of the rice cooker.

- 09
Step 9
Pour the caramelized meat from the wok into the rice cooker. Add two star anise, Lee Kum Kee braising sauce, and a pinch of salt.

- 10
Step 10
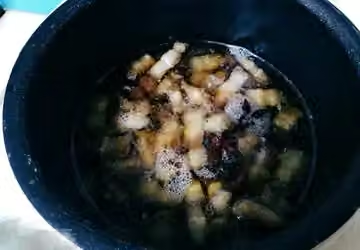
Then add boiling water, just enough to cover the meat, not too much, and press the cook button. Cook for about fifty minutes. If you don't plan to add potatoes, sprinkle some sesame seeds on top and it's ready to eat.
- 11
Step 11
I was going to add potatoes, so I took out a bowl of rice, added the chopped potatoes, a little salt, and cooked it over medium heat for five minutes.

- 12
Step 12
Reduce the sauce over high heat. Sprinkle with sesame seeds and remove from heat.

- 13
Step 13
It's very soft, but it's still okay for babies to eat!
Nutrition
Nutrition has not been calculated for this recipe.