Celery and lean pork porridge
Celery and lean pork congee recipe with pictures, 10 steps in total. Rinse the rice twice and soak it in water for half an hour. If you are making it in the morning, rinse and soak it overnight.

Method
- 01
Step 1
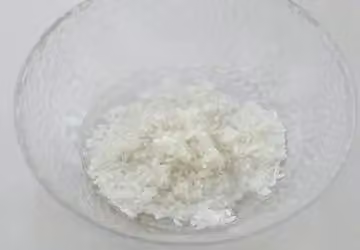
Rinse the rice twice and soak it in clean water for half an hour. If you are making it in the morning, rinse and soak it overnight.
- 02
Step 2
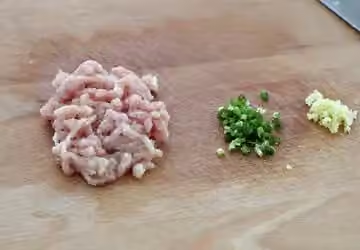
Wash the lean pork and cut it into thin strips or small cubes. Then chop the scallions and mince the ginger.
- 03
Step 3
Place the chopped lean meat in a bowl, then add scallions, ginger, light soy sauce, sugar, and white pepper powder. Mix well and marinate 20 minutes.

- 04
Step 4
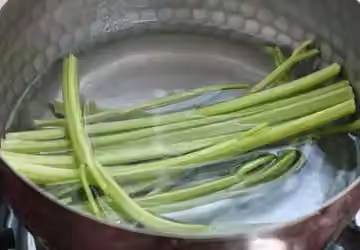
Remove the leaves from the celery, wash it, and blanch it in boiling water for two minutes.
- 05
Step 5
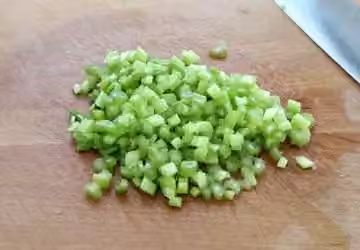
Then remove it from the water, squeeze out the excess water, and cut it into small cubes.
- 06
Step 6
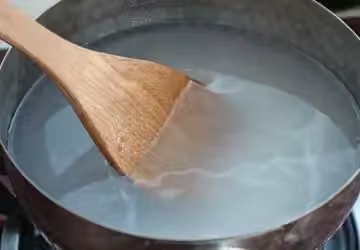
Put the soaked rice into a small pot, add water and bring to a boil. Stir well and reduce heat to low and cook for about 20 minutes, stirring occasionally.
- 07
Step 7
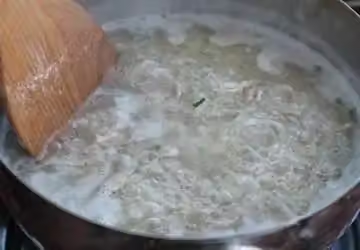
Once the rice grains have expanded and bloomed, add the marinated shredded meat and stir quickly to separate them, then cook for another five minutes or so.
- 08
Step 8
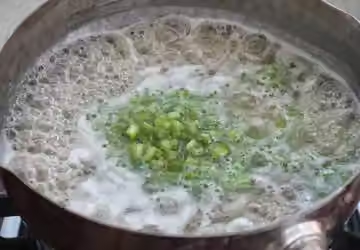
Add the chopped celery and mix well. Season with salt to taste and drizzle with a little sesame oil.
- 09
Step 9
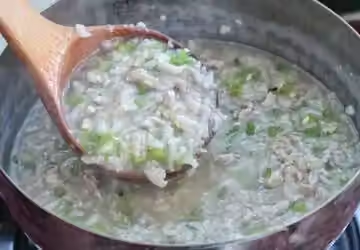
Finally, add a handful of instant oatmeal, stir quickly until well combined, and turn off the heat when the porridge reaches a thick consistency.
- 10
Step 10
A nutritious and delicious celery and lean pork congee is ready!
Nutrition
Nutrition has not been calculated for this recipe.