2019 Little Pig Steamed Buns
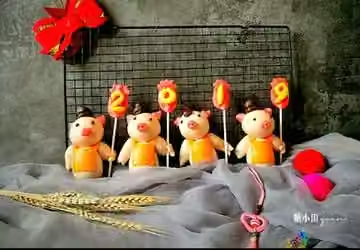
2019 Pig-Shaped Steamed Buns Recipe (with pictures and instructions, 23 steps in total). Prepare the ingredients.
Method
- 01
Step 1
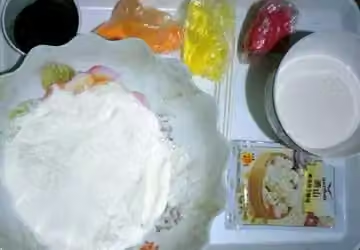
Prepare ingredients
- 02
Step 2
First, mix the yeast into the flour until dissolved. If the room temperature is low, dissolve the yeast in the milk before adding it to the flour.
- 03
Step 3
Add milk
- 04
Step 4
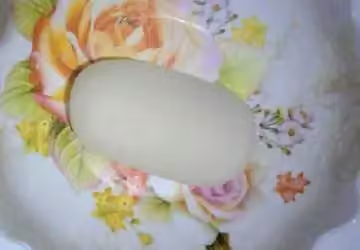
Knead into a very, very, very smooth dough.
- 05
Step 5
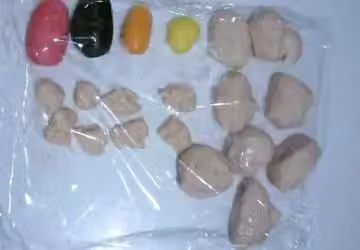
Divide the dough into 15 portions and knead with a suitable amount of red food coloring to form a red dough. Divide another 15 portion and knead with Oreo cookie crumbs to form a brownish-black dough. Divide another 8 portion and knead with orange food coloring to form an orange dough. Divide another 4 portion and knead with yellow food coloring to form a yellow dough. Add a small amount of red food coloring to the remaining dough to form a pink dough. Divide the pink dough into 8 6 portions. Divide the remaining dough into 8 equal portions, as shown in the picture.
- 06
Step 6
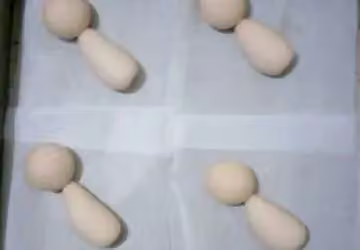
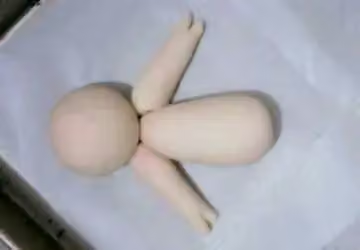
First, knead the larger pink dough into 4 round dough balls (for the pig's head) and 4 teardrop-shaped dough balls (for the pig's body). Then, assemble them together as shown in the picture.
- 07
Step 7
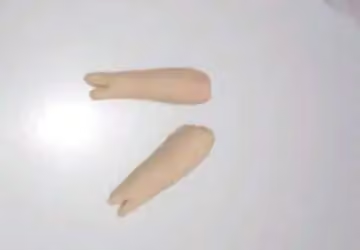
Roll the small pink dough ball into a long strip, making one end thinner. Cut the thinner end into a pig's trotter shape, as shown in the picture.
- 08
Step 8
Apply a small amount of water to each of the pig-shaped steamed buns and stick them to their shoulders.
- 09
Step 9
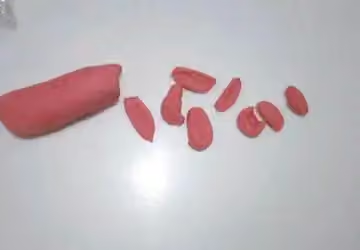
Divide the red dough into 8 small dough balls, each about the size of a pea, and use them to make the pig's nose and ears.
- 10
Step 10
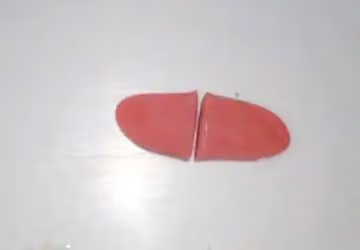
For the ear part, roll it into an elongated oval shape, then cut it in half lengthwise, with a total length of approximately 1.5 cm.
- 11
Step 11
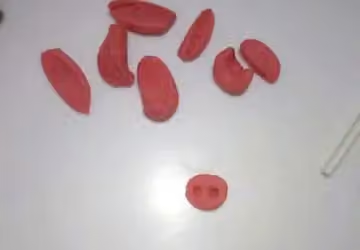
Take a small dough ball, flatten it into a round shape, and poke two small holes with a paper stick to make a pig snout.
- 12
Step 12
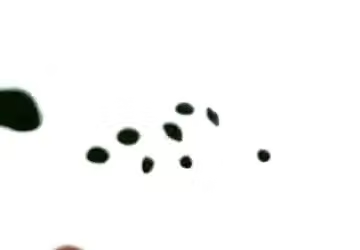
Divide the dough into 8 pieces, each about the size of a mung bean, and roll them into balls to make the pig's eyes.
- 13
Step 13
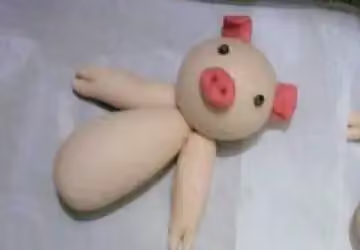
Apply a small amount of water to each of the corresponding spots on the pig's head.
- 14
Step 14
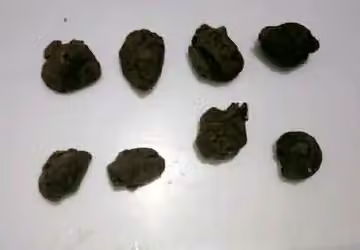
Divide the remaining Oreo dough into 8 equal portions to make the pig's hat. Use your imagination! (The children made these, so I didn't take pictures of the process.)
- 15
Step 15
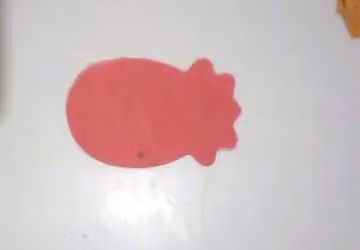
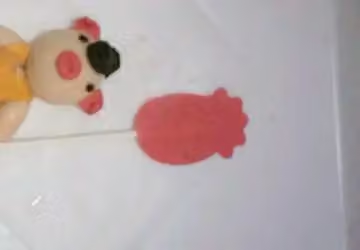
Roll out the red dough into a thin sheet about 1 mm thick, and cut out your favorite shapes to make flags. If you don't have a mold, you can cut it directly into rectangles.
- 16
Step 16
Apply a small amount of water to the flag, hat, nose, and ears and attach them to their respective positions.
- 17
Step 17
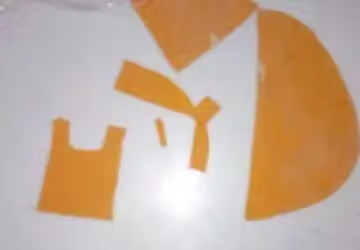
Roll out the orange dough into a thin sheet about 1 mm thick, and cut it into the shape shown in the picture (vest).
- 18
Step 18
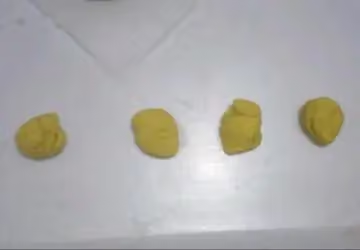
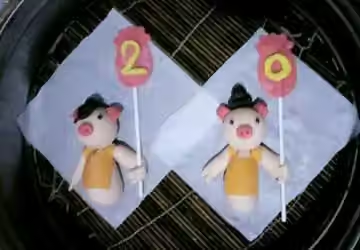
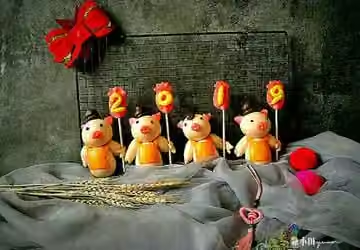
Divide the yellow dough into 4 equal portions, roll them into long strips to form the characters 2019
- 19
Step 19
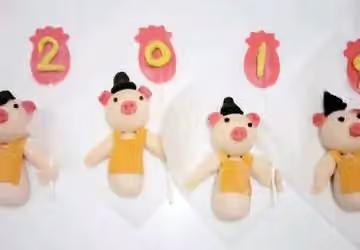
Simply apply a small amount of water to the vest and numbers and attach them to the corresponding areas.
- 20
Step 20
Place the dough in a steamer basket, put it in a pot of cold water, turn on low heat and steam for 5 minutes, then turn off the heat. Let it ferment 20 minutes (the time is for reference only; ferment until the dough has slightly increased in size and springs back slowly when lightly pressed with a finger). Turn the heat to high, and steam for about 15 minutes after the water boils. Turn off the heat and let it sit 3 minutes.
- 21
Step 21
It's done!
- 22
Step 22
Isn't it cute?
- 23
Step 23
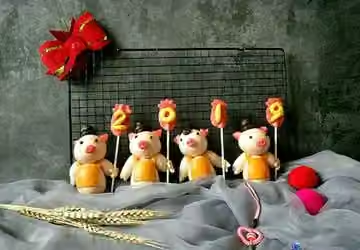
Finished product image
Nutrition
Nutrition has not been calculated for this recipe.