Baked Chicken in a Rice Cooker
Baked Chicken Recipe in Rice Cooker (with Pictures and Steps, 26 Steps in Total). Take a whole chicken and remove the head. Skip this step if you don't mind.
Method
- 01
Step 1
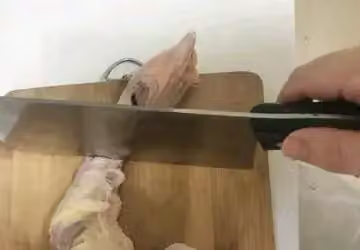
Take a whole chicken and remove its head. If you don't mind, skip this step.
- 02
Step 2
Cut off the chicken feet; actually, you can just leave them on and wash them clean, but I think cutting them off saves trouble.

- 03
Step 3
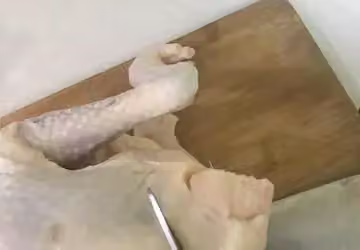
Then, the chicken's tail is discarded, but you can keep it if you like.
- 04
Step 4
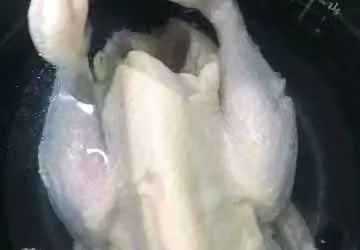
Next, clean the chicken's internal organs from the breast cavity; it's best to remove them all. Also, trim off some of the remaining chicken fat; the skin contains enough oil. Now you have a whole, untroubled chicken. Soak it in clean water and rinse it thoroughly. Meanwhile, prepare the other ingredients.
- 05
Step 5
Now take a small bowl and mix all the prepared seasonings together. I won't give you the exact proportions today, as that would be arbitrary; you can adjust them yourself. If you prefer a stronger flavor, you can add salt. In short, be careful not to add more dark soy sauce than the others, otherwise the soy sauce flavor will be too strong. As for sugar, just a little is enough to enhance the flavor.

- 06
Step 6
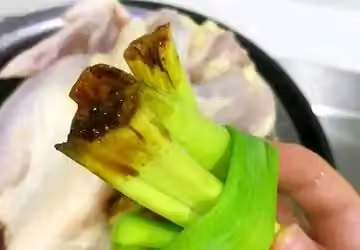
Find a few scallions, tie them together into a bunch, and use them as a brush. I was too lazy to buy scallions, so I used regular scallions instead, although scallions actually smell better.
- 07
Step 7
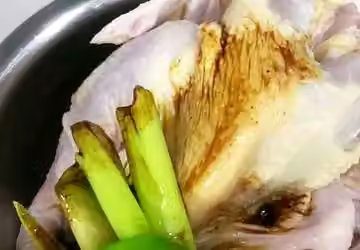
Use a scallion brush to apply the sauce evenly to the chicken. (If you have a brush at home, you can use that.)
- 08
Step 8
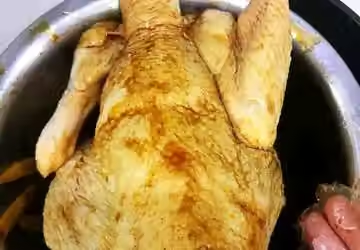
Make sure the whole chicken is evenly coated with the sauce.
- 09
Step 9
Don't forget the inside of the chicken!

- 10
Step 10
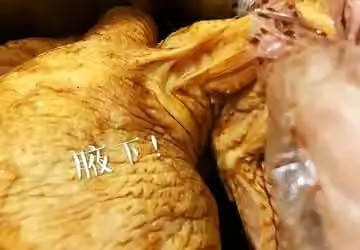
Don't forget the chicken's armpits and groin areas, cover them 360 angle!
- 11
Step 11
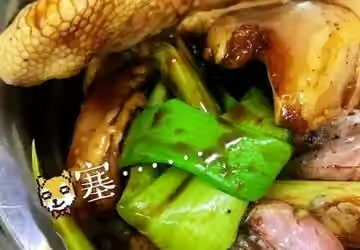
After applying the scallions, massage them in for a while, giving the chicken extra care to help it absorb the flavor better. Finally, stuff the used scallions into the chicken's cavity.
- 12
Step 12
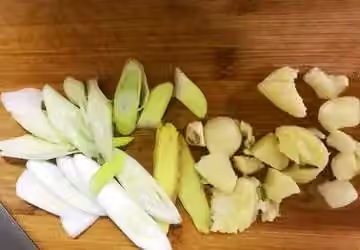
Chop some ginger and garlic, then add some garlic cloves and ginger slices. If you want to make a one-pot braised chicken and potato dish, you can also peel a few small potatoes and stuff them in now. Add according to your personal preference.

- 13
Step 13
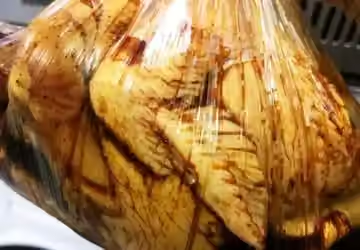
Now take out a plastic bag and put the chicken and broth in. This completes the chicken marinating process.
- 14
Step 14
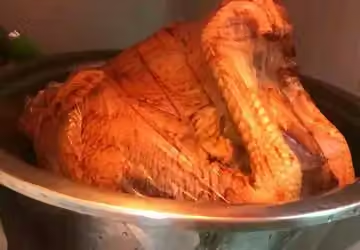
Put the whole bag of chicken in the refrigerator and let it sit overnight to reflect on its chicken life, or at least marinate for more than 4 hours, the longer the marinating time, the more flavorful it will be.
- 15
Step 15
The next day, I got up and prepared the side dish set.
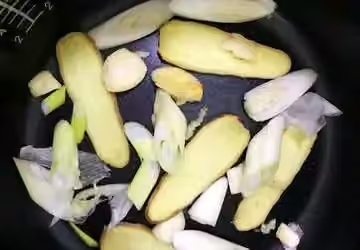
- 16
Step 16
Spread evenly on the bottom of the rice cooker.
- 17
Step 17
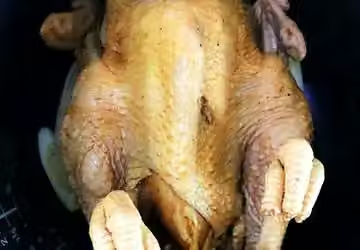
Remove the marinated chicken and place it in the rice cooker with maximum contact surface area. Nothing else is needed.
- 18
Step 18
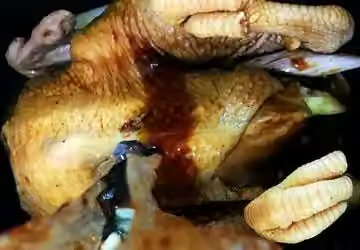
Pour the soup from the bag over the contents;
- 19
Step 19
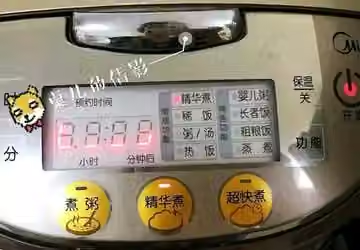
Press the cook button, and now it's time to witness a miracle.
- 20
Step 20
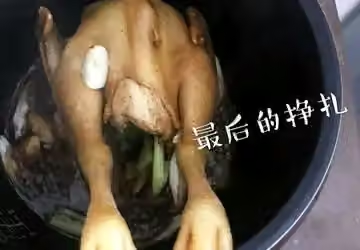
After the jump key is pressed, don't rush. Look at the color of the chicken. Tsk tsk tsk, it has turned into a burnt yellow color!
- 21
Step 21
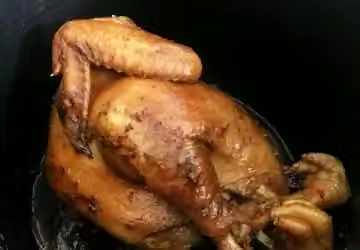
Pour the rendered chicken fat and sauce over the chicken, flip it over and continue cooking. Be careful when flipping it, or you'll tear the skin and it won't look good.
- 22
Step 22
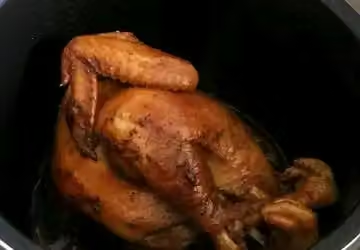
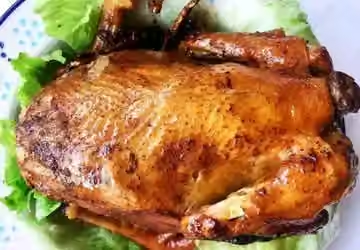
After the rice cooker switches off again, the whole chicken will be fragrant and golden brown, and it's ready to eat at this point.
- 23
Step 23
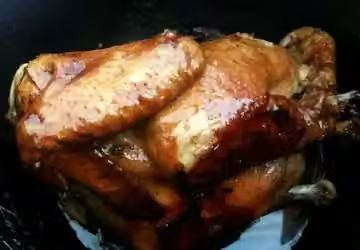
However, if you prefer a slightly crispy skin, you can press the quick cook button a third time. Before cooking, remember to flip the chicken and pour the sauce over it. This time, the cooking time can be shorter, mainly to make the chicken skin more crispy and tender.
- 24
Step 24
Perfect! Plated.
- 25
Step 25
One more thing, the chicken meat comes off so easily, just like leaving a faithless ex-boyfriend!

- 26
Step 26
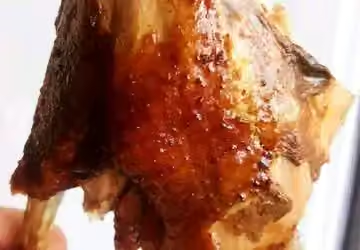
Finally, here's another delicious leg for everyone to enjoy.
Nutrition
Nutrition has not been calculated for this recipe.