Beef stir-fried rice cakes
Beef and Rice Cake Stir-fry Recipe (with pictures), 8 steps in total. Finely chop the scallions and set aside.
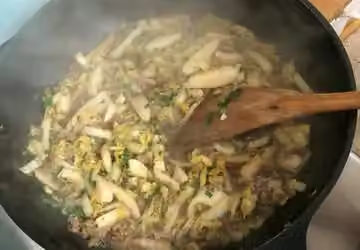
Method
- 01
Step 1
Finely chop the scallions and set aside.

- 02
Step 2
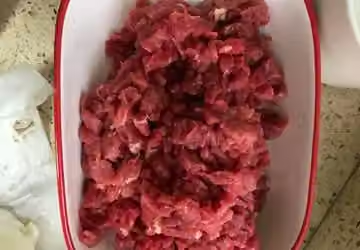
Cut the beef into very fine cubes.
- 03
Step 3
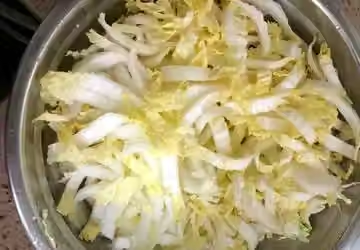
Cut the baby bok choy stems into small pieces; finer pieces will absorb more flavor when stir-fried. Baby bok choy or regular bok choy can be used in winter.
- 04
Step 4
Cut the rice cake into small pieces so it's easy to stir-fry. This rice cake was sent from my hometown; it has a strong rice flavor. It's soft, chewy, and delicious.

- 05
Step 5
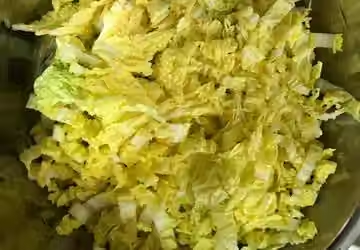
The leaves of the baby bok choy should also be chopped into smaller pieces.
- 06
Step 6
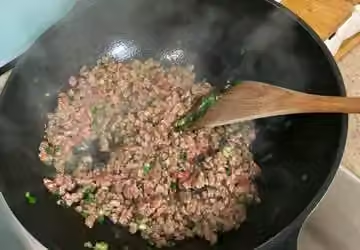
Add a suitable amount of oil, heat over low heat, sauté the shallots briefly, then add some of the shallot greens as well. Add the diced beef, but don't overcook it, otherwise it will become tough and unappetizing. It should be cooked until slightly undercooked.
- 07
Step 7
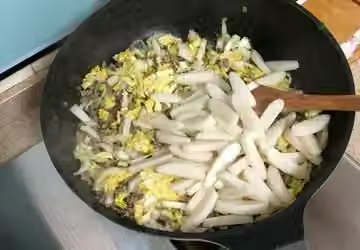
Stir-fry the beef until it's about 70% cooked, then add the baby bok choy stems and stir-fry for a while. Finally, add the baby bok choy leaves and stir-fry together, then add the rice cakes and stir-fry together.
- 08
Step 8
Since rice cakes cook quickly, add salt, cooking wine (to remove any fishy smell), and a suitable amount of dark soy sauce. Stir-fry. Add extra scallion leaves for a nicer and fresher look. Add black pepper powder, to taste. Finally, add MSG, and stir-fry until the water evaporates for better flavor. Since the dish itself has a lot of moisture, stir-fry for a little longer before serving.
Nutrition
Nutrition has not been calculated for this recipe.