Northeast Lucky Pig Buns
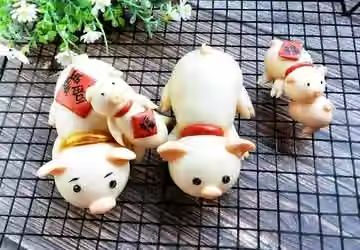
How to make Northeast China's "Lucky Pig" Steamed Buns (with pictures and 30 steps): Dissolve yeast in water in a bowl, then add all-purpose flour, sugar, and corn oil to form a smooth dough.
Method
- 01
Step 1
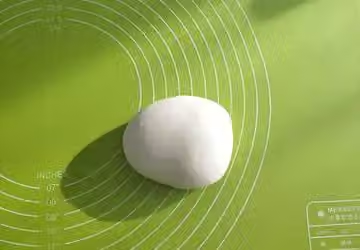
Dissolve the yeast in water in a bowl, then add all-purpose flour, sugar, and corn oil to form a smooth dough.
- 02
Step 2
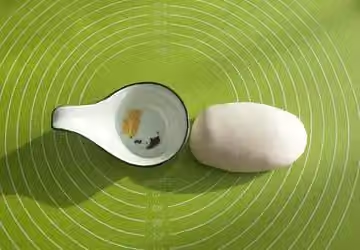
Next, prepare the pink dough. Add a small amount of red yeast rice powder and pumpkin powder to the white dough and knead it, adding them in small amounts several times.
- 03
Step 3
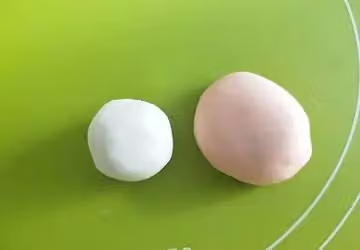
The color in the picture is a light pink dough, used for contrast with white.
- 04
Step 4
Divide the dough into three white doughs, knead red yeast rice powder into each dough to make red, light pink dough is made by kneading white dough with a small amount of red dough, and it is slightly pinker than flesh pink dough. Then add bamboo charcoal powder to the white dough to make black dough.
- 05
Step 5
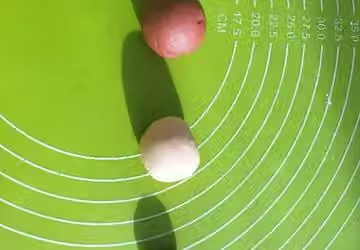
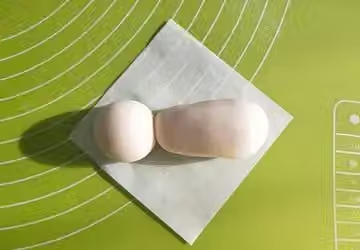
Knead a round and an oval dough ball to make the pig's body. The head should weigh 20 grams and the body 35 grams.
- 06
Step 6
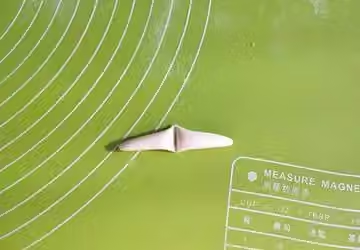
Take about 2 grams of dough, roll it into a long strip, and cut it in half to make pork legs.
- 07
Step 7
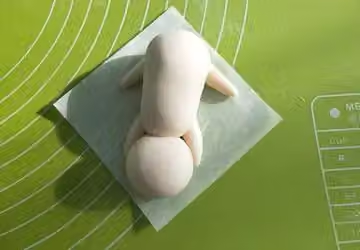
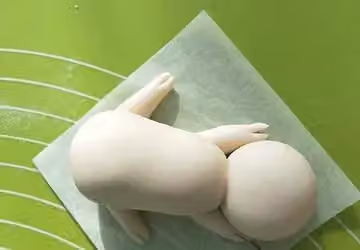
Install the pig's legs
- 08
Step 8
Cut out the pig's trotters with scissors
- 09
Step 9
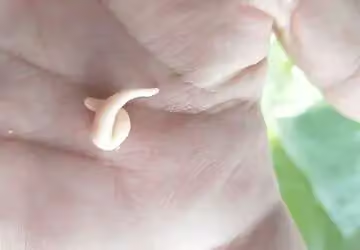
Rub a pig's tail
- 10
Step 10
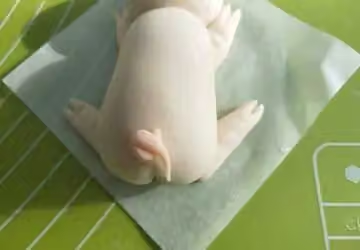
Safe pig tail
- 11
Step 11
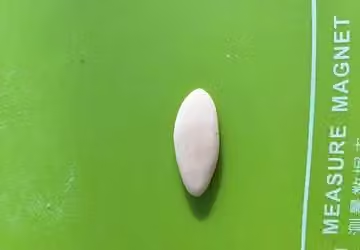
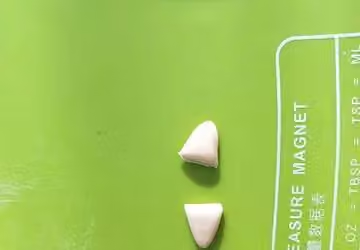
Next, make the pig's ears. Take one gram of pink dough and roll it into a long, thin shape.
- 12
Step 12
Divide in the middle
- 13
Step 13
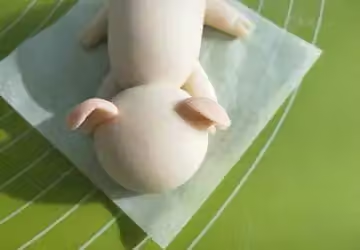
The ears were properly attached, and the joints were all glued with water.
- 14
Step 14
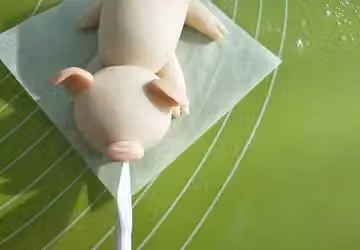
The pig's snout was made using this tool.
- 15
Step 15
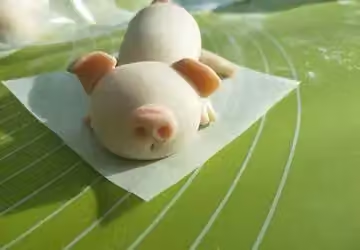
The pig's mouth is as shown in the picture.
- 16
Step 16
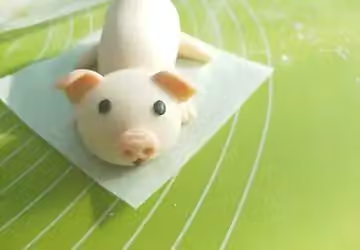
Use black dough to make pig eyes
- 17
Step 17
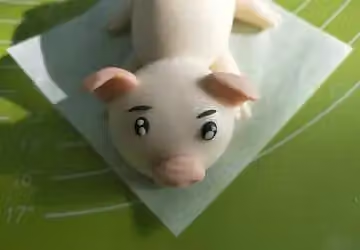
The pig's eyebrows and eyes can be decorated more meticulously.
- 18
Step 18
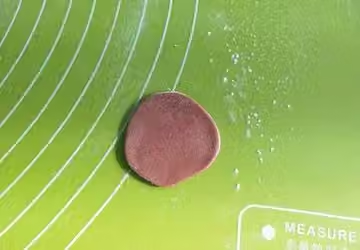
Take the red dough and roll it into a thin sheet.
- 19
Step 19
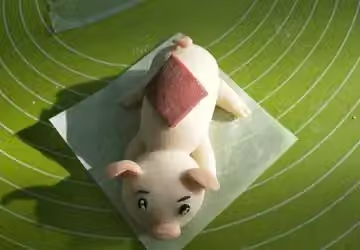
Cut into squares and stick them on the pig's back.
- 20
Step 20
The big, lying-down pig is done! Now let's make the little pigs.
- 21
Step 21
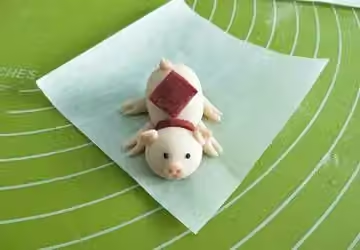
This lying pig is made the same way as the larger one, except the dough weight is smaller: the head is 8 grams and the body is 15 grams. The eyes are simplified.
- 22
Step 22
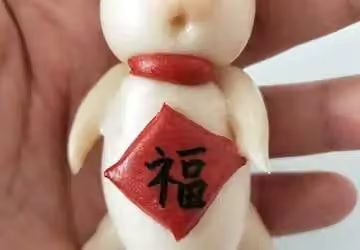
Next, make the pig lying on its back.
- 23
Step 23
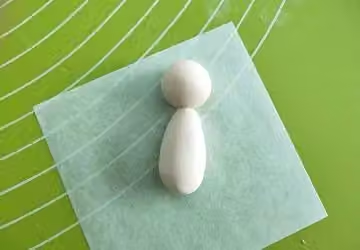
Roll the dough into balls; the head weighs 8 grams and the body weighs 15 grams.
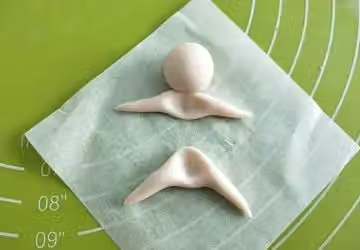
- 24
Step 24
Then roll two long strips and flatten the middle of each.
- 25
Step 25
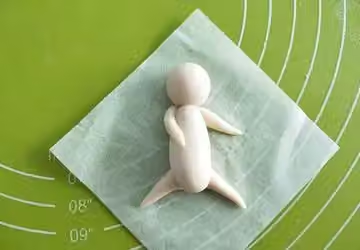
Place the pig's body
- 26
Step 26
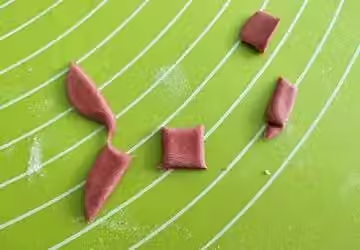
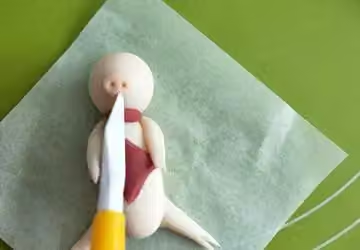
Cut the red dough into squares
- 27
Step 27
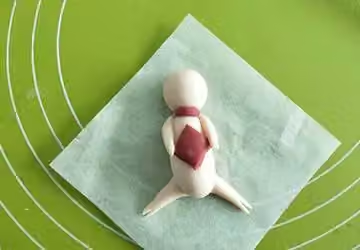
Place on the piglet's belly
- 28
Step 28
Attach the pig's nose and insert two nostrils with a toothpick.
- 29
Step 29
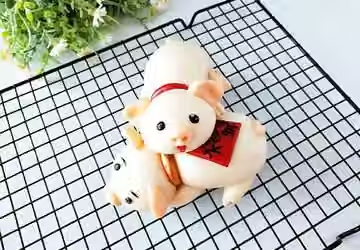
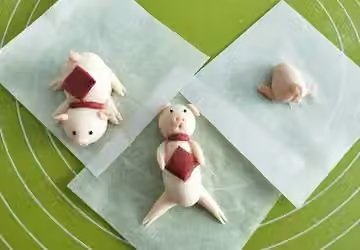
The cute little pig is done! I used the remaining dough to make a pig's bottom, which is also adorable, isn't it? After proofing, steam it in boiling water for 13 minutes, then let it sit for a while before opening the lid.
- 30
Step 30
I used 150 grams of flour to make four little pig-shaped steamed buns. After steaming, I wrote the character "福" (fortune) on them using an imported edible black food coloring pen. These auspicious little pigs are perfect for making during the Spring Festival. Did you learn how to make them?
Nutrition
Nutrition has not been calculated for this recipe.