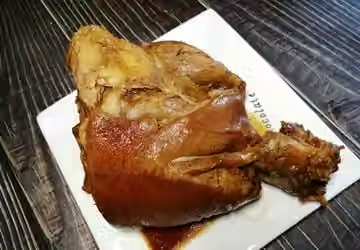
#Hebei cuisine #Braised pork knuckle
#Hebei Cuisine# Braised Pork Knuckle Recipe (with pictures and 20 steps). Prepare the ingredients.
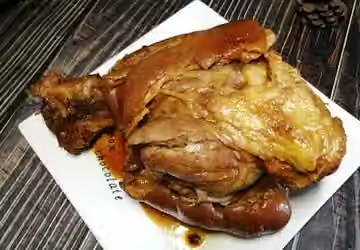
Method
- 01
Step 1
Prepare materials
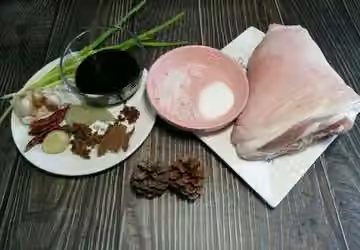
- 02
Step 2
Clean the pork knuckle and put it in a pot of cold water.
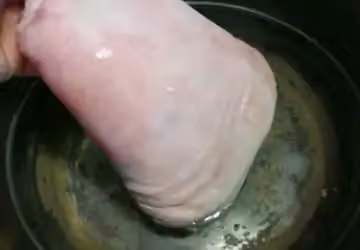
- 03
Step 3
Blanch to remove blood

- 04
Step 4
Remove the blanched pork knuckle and set aside.
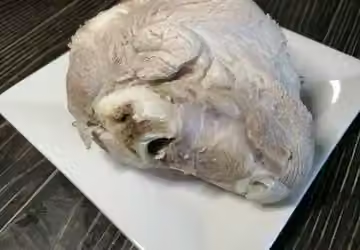
- 05
Step 5
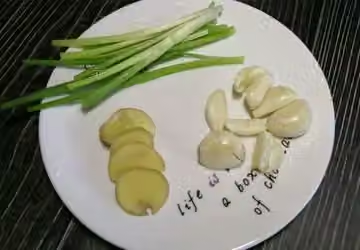
Cut the scallions into sections, slice the ginger, and crush the garlic.
- 06
Step 6
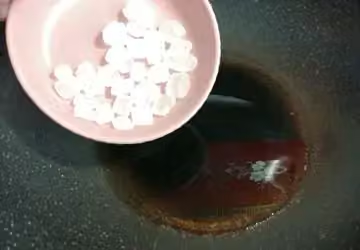
Heat oil in a wok, add rock sugar, and stir-fry over medium-low heat to caramelize.
- 07
Step 7
Once the rock sugar has completely melted, turned brownish-red, and produces brown smoke, turn off the heat and set aside.

- 08
Step 8
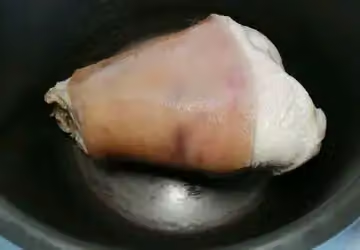
Place the blanched pork knuckle into a pressure cooker.
- 09
Step 9
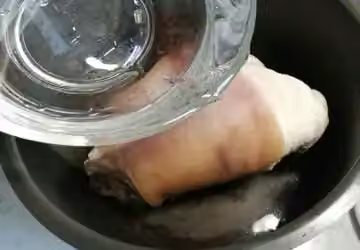
Add cold water to the level of the pork knuckle.
- 10
Step 10
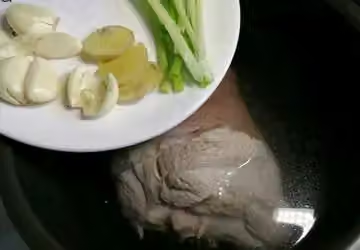
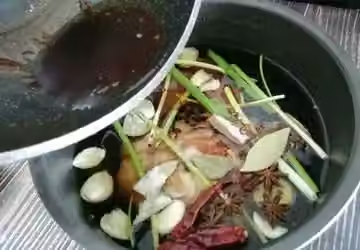
Add scallions, ginger, and garlic.
- 11
Step 11
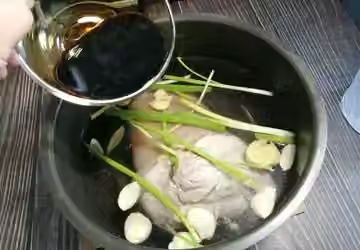
Add the mixture of light soy sauce, dark soy sauce, oyster sauce, and cooking wine.
- 12
Step 12
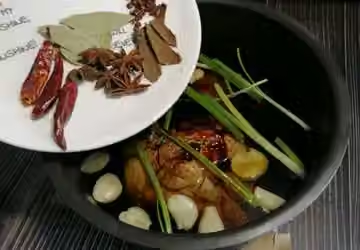
Add chili peppers, Sichuan peppercorns, star anise, cinnamon, etc.
- 13
Step 13
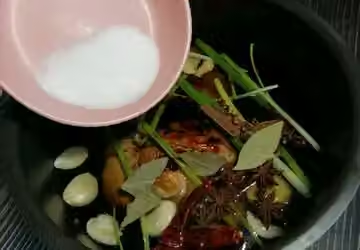
Add salt.
- 14
Step 14
Pour the freshly cooked sugar water into the pressure cooker.
- 15
Step 15
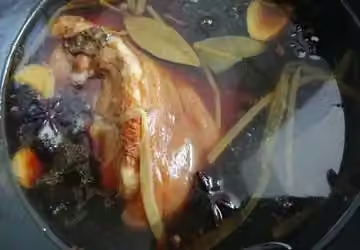
Pressure cook for 45 minutes, or select the tendon function.

- 16
Step 16
Place the pressed pork knuckle back into the wok.
- 17
Step 17
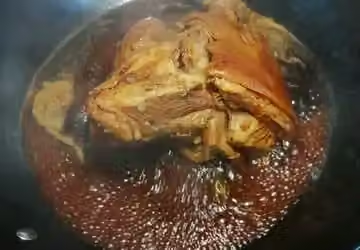
Reduce the sauce, everyone; this step is crucial for the pork knuckle to brown.
- 18
Step 18
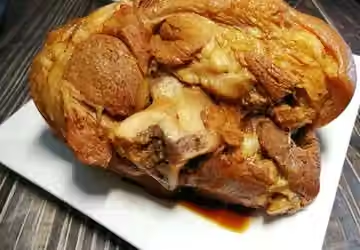
Pork knuckle with reduced sauce
- 19
Step 19
Plate it up and let's eat!
- 20
Step 20
Finished product image
Nutrition
Nutrition has not been calculated for this recipe.