Braised Pork Belly with Fermented Bean Curd
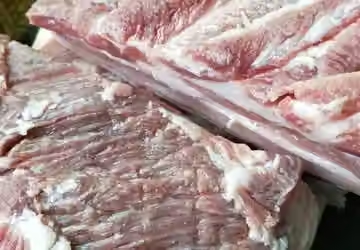
Braised Pork Belly with Fermented Bean Curd: 11 Step Recipe (with Pictures). Wash the pork belly and cut it into pieces the size shown in the picture.

Method
- 01
Step 1
Wash the meat you bought, cut it into pieces, about the size shown in the picture.
- 02
Step 2
Put water and meat in a pot, add cold water, and cook until chopsticks can be easily pierced through the skin.

- 03
Step 3
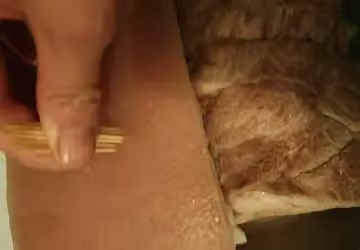
Use a toothpick to poke holes in the skin, poke hard, poke many holes.
- 04
Step 4
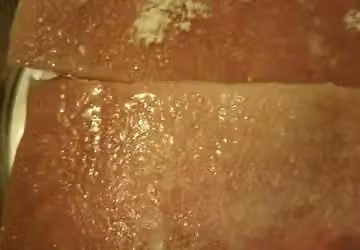
Rub a little salt on the pork skin
- 05
Step 5
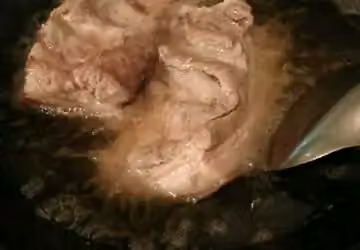
Heat the oil in a wok until it's very hot. To prevent burns, reduce the heat to low, hold the lid in front of you, and place the pork skin-side down in the wok. Stir the pork frequently to prevent the skin from burning. Once some of the moisture has evaporated and the oil has stopped splattering, remove the lid and turn the heat up.
- 06
Step 6
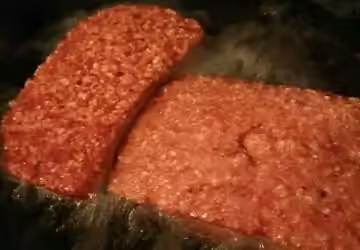
Fry the pork skin until small bubbles appear as shown in the picture, then flip it over and fry until golden brown.
- 07
Step 7
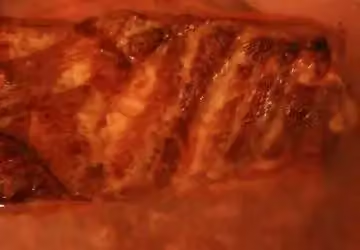
Before removing the pot from the heat, prepare a bowl of cold water. Place the cooked ingredients in the cold water and soak for ten minutes, then remove them.
- 08
Step 8
Pour out the oil from frying the meat, replace it with water, put the meat in a pot of cold water (enough to cover the meat), and cook until the skin and meat are soft. Remove from the pot, let cool, and then slice to your desired thickness.

- 09
Step 9
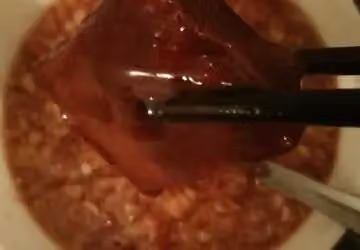
The sauce can be adjusted to your own taste. Mine consisted of a few slices of ginger, scallions, chili peppers, fermented red bean curd, fermented red bean curd juice, light soy sauce, oyster sauce, water, and salt. The sauce doesn't need to be cooked; just dilute it with water.
- 10
Step 10
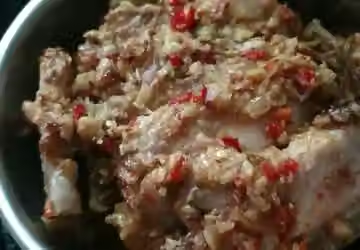
Dip the meat in the sauce, arrange it on a plate with the skin side down, then pour the remaining sauce over it. Steam for one hour (I used a regular pot; the steaming time will be different for a pressure cooker).
- 11
Step 11
Once the meat is steamed, invert a bowl over it and it's ready to eat.
Nutrition
Nutrition has not been calculated for this recipe.