Two Tiger Steamed Buns
Two Tiger Steamed Buns Recipe (with Pictures and Steps, 34 Steps in Total) Prepare Ingredients
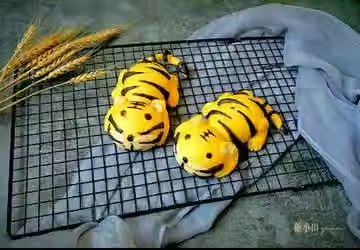
Method
- 01
Step 1
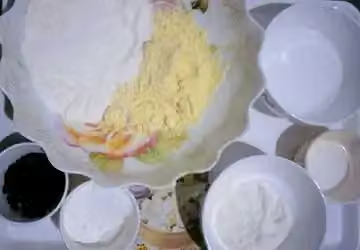
Prepare ingredients
- 02
Step 2
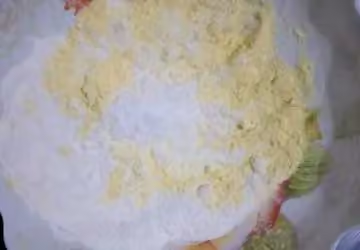
First, for the cornmeal dough, mix cornmeal, all-purpose flour, and sugar until smooth.
- 03
Step 3
Dissolve yeast in water
- 04
Step 4
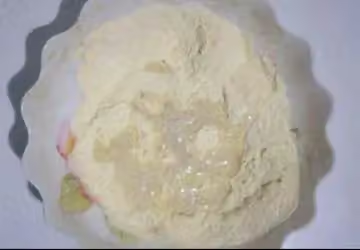
Pour the yeast water into the flour.
- 05
Step 5
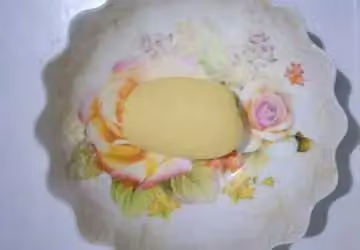
Knead into a very, very, very smooth dough, cover with plastic wrap and set aside.
- 06
Step 6
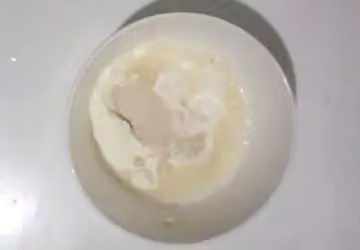
Similarly, for the second part of the white dough, dissolve the yeast in water and then pour it into the flour.
- 07
Step 7
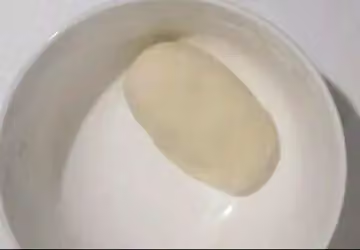
Knead the dough until it is very, very, very smooth, cover it with plastic wrap and set aside.
- 08
Step 8
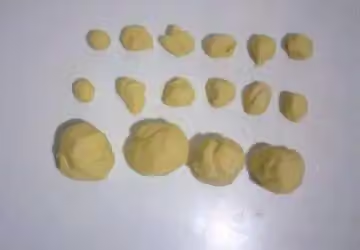
Divide the cornmeal dough into three portions: two 1 gram portions, 10 5 gram portions, and 2 35 portions. Then divide the remaining dough into 2 larger equal portions.
- 09
Step 9
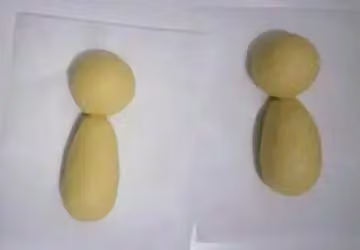
Roll two 35 gram dough balls into rounds (to make the tiger's head), and roll two larger dough balls into teardrop shapes (to make the tiger's body). Then, assemble them together as shown in the picture.
- 10
Step 10
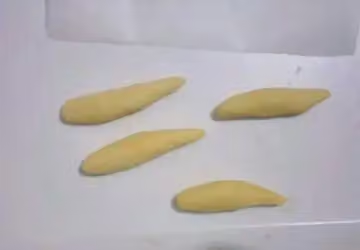
Roll 8 5 gram portions of corn dough into thick, long strips, about 7 cm in length.
- 11
Step 11
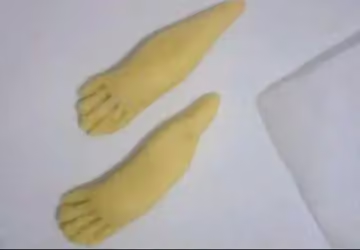
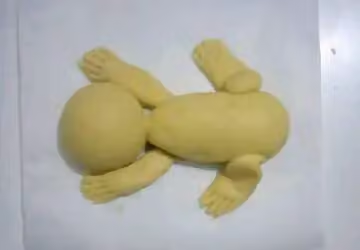
Carve out the tiger's claws with a scraper, as shown in the picture.
- 12
Step 12
Apply a small amount of water to the corresponding parts of the tiger's body.
- 13
Step 13
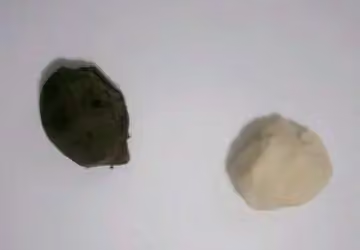
Divide the white dough in half. Mix one half with an appropriate amount of Oreo cookie crumbs and knead until smooth. If it's too dry, add a little water.
- 14
Step 14
Roll out the Oreo dough into a thin pancake about 1 mm thick.
- 15
Step 15
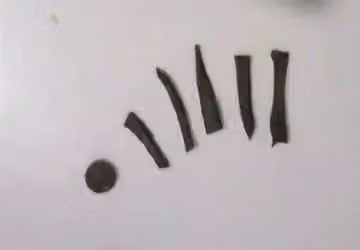
Cut out five small strips, about 1 cm long and 2 mm wide. Roll a small dot to make the tip of the tiger's tail.
- 16
Step 16
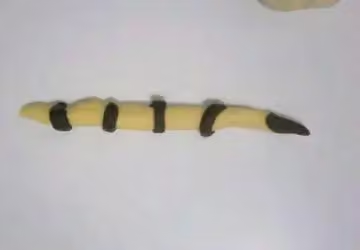
Roll the remaining 2 5 gram cornmeal dough pieces into long strips, about 10 cm long. Moisten the small black dough pieces with a little water and stick them onto the cornmeal dough to create tiger tail stripes, as shown in the picture.
- 17
Step 17
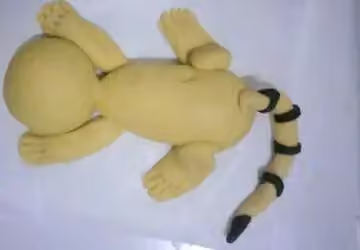
Apply a small amount of water to the tiger's rump.
- 18
Step 18
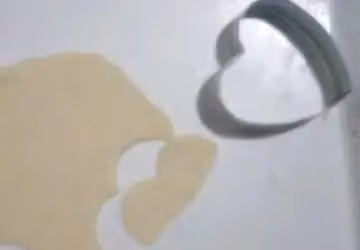
Roll out the white dough into a thin sheet about 1 mm thick. Cut it into the shape shown in the picture, according to the size of the tiger's head. If you don't have a mold, you can directly cut out a semi-circle.
- 19
Step 19
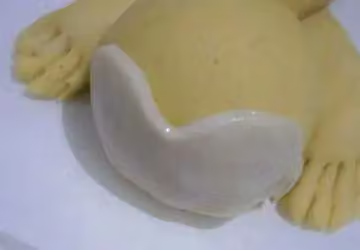
Apply a small amount of water to the tiger's face.
- 20
Step 20
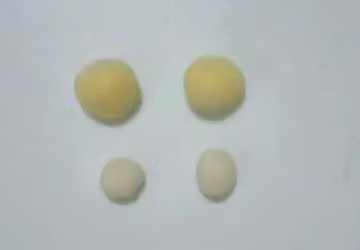
Take two 1 gram cornmeal dough balls, then divide them into 2 pea-sized pieces of white dough. Roll each piece into a ball, as shown in the picture.
- 21
Step 21
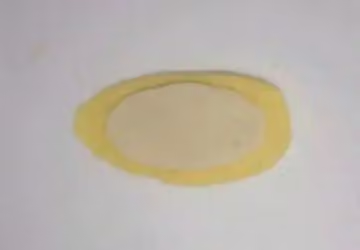
Roll each piece into an oval shape, making the white one slightly smaller. Overlap them, with the white one on top, as shown in the picture.
- 22
Step 22
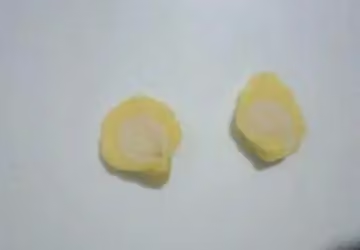
Cut it in half lengthwise, and pinch the cross-section as shown in the picture.
- 23
Step 23
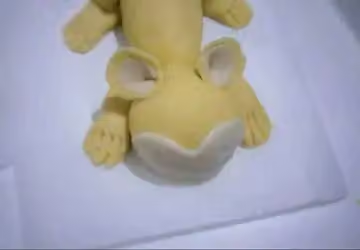
Apply a small amount of water to each of the corresponding positions on the tiger's head.
- 24
Step 24
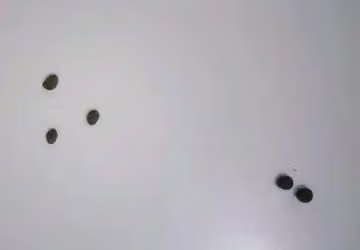
Take five Oreo dough balls the size of mung beans and roll them into rounds.
- 25
Step 25
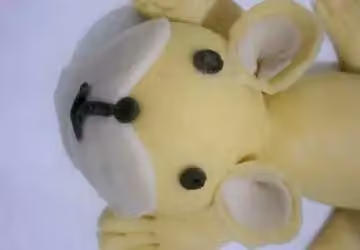
Roll the eyes and noses of the two tigers into round shapes, and roll two of their mouths into small strips. As shown in the picture, apply a small amount of water and stick them to the tigers' faces.
- 26
Step 26
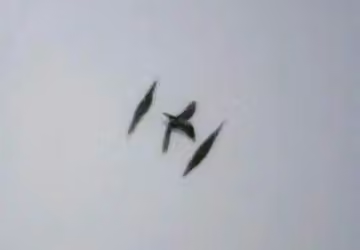
Take four sesame seed-sized pieces of Oreo dough, roll them into thin strips, and use them to create the tiger's distinctive "王" (king) character.
- 27
Step 27
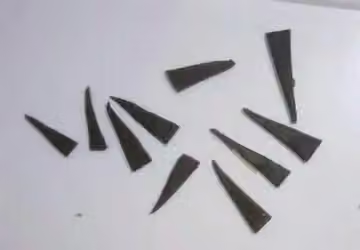
Cut the remaining Oreo dough into 10 long triangles, each about 2 3 long 12
- 28
Step 28
Apply a small amount of water to the corresponding parts of the tiger's head and body. Once one tiger is finished, repeat the process for the other.
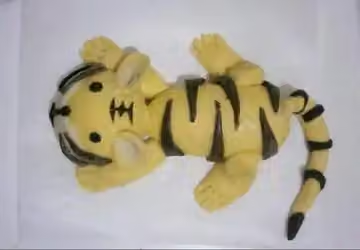
- 29
Step 29
Place the prepared dough pieces in a steamer basket, put them in a pot of cold water, turn on low heat for 5 minutes, then turn off the heat and let them ferment 20 minutes (the time is for reference only; ferment until the dough has slightly increased in size and springs back slowly when lightly pressed with a finger). Turn the heat to high, and steam for about 20 minutes after the water boils. Turn off the heat and let it sit 3 minutes.
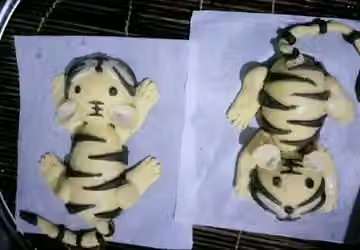
- 30
Step 30
It's done!
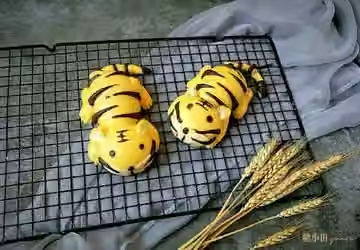
- 31
Step 31
Cute or not?
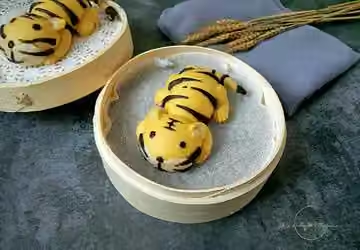
- 32
Step 32
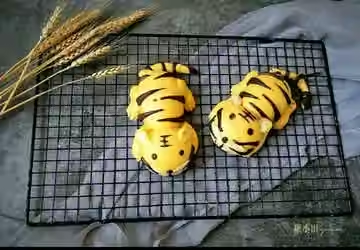
Two Tigers
- 33
Step 33
Finished product image
- 34
Step 34
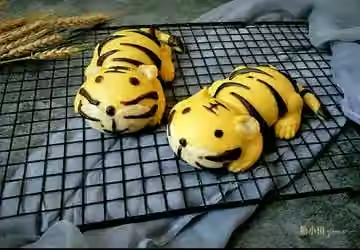
Finished product image
Nutrition
Nutrition has not been calculated for this recipe.