Traditional Red Bean Cake
Traditional Red Bean Cake Recipe (with pictures, 5 steps). Fill a large baking pan with cold water about 1 cm above the batter. Preheat oven to 130 °C. 1 Heat corn oil to 60 70 C. Sift cake flour into the corn oil and whisk until smooth. 2 Add warm milk and egg yolks. Mix until smooth and free of lumps.

Method
- 01
Step 1
Fill a large baking pan with cold water about 1 cm above the batter. Preheat the oven to 130 degrees Celsius. 1 Heat the corn oil to 60 degrees 70 . Sift the cake flour into the corn oil and mix well with a whisk. 2 Add the warm milk and egg yolks. Mix until smooth and free of lumps.
- 02
Step 2
3 Beat the egg whites until soft peaks form. Add one-third of the beaten egg whites to the egg mixture and gently fold it in from the bottom up. 4 Once the mixture is evenly combined, pour it into the remaining egg white mixture. Continue to fold until well combined.
- 03
Step 3
5 Pour the batter into an 8 inch square pan lined with parchment paper. First, pour 2/3 into the pan, add the red beans, then pour in 1/3 of the batter. Finally, add cocoa powder to the remaining batter and mix well.

- 04
Step 4
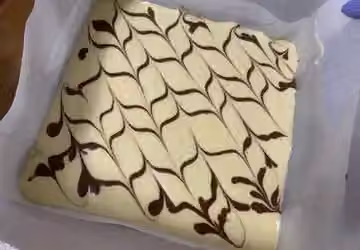
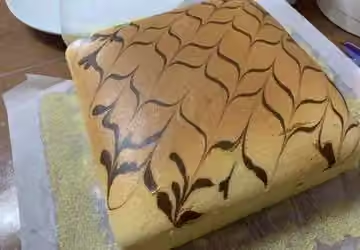
6 Pipe patterns onto the surface of the cocoa powder batter. Gently tap the pan a few times and place it in a preheated oven for about 10 minutes. Use a water bath method on the bottom rack and bake at 130 degrees Celsius (340 degrees Fahrenheit) for 20 minutes. Then reduce the temperature to 90 degrees Celsius ( 40 degrees Fahrenheit) and bake for another 40 minutes. Adjust the oven temperature as needed during the last few minutes.

- 05
Step 5
Note: (My oven runs hot, and every oven is different. Adjust the temperature according to your own oven.)
Nutrition
Nutrition has not been calculated for this recipe.